What is Nimble
Nimble is a decentralized AI orchestration layer (aka. AI Orderbook) that connects applications, developers, model training, GPU resources, and data on the blockchain. Nimble’s mission is to transform the AI ecosystem by reducing costs and increasing efficiency. This enables applications to spend less on building AI models and developers to reduce expenses on GPU rentals. Additionally, GPU and data providers can monetize their participation in the Nimble Network.
What is Nimble Token
The Nimble Network facilitates a variety of transaction types including training models, publishing models, staking models, publishing data, and using GPUs. Each transaction incurs a pair of earning and paying, which is denominated in Nimble Tokens—the official currency of the network.
Rewards
Nimble offers rewards primarily to GPU miners and data providers, who are pivotal to the AI infrastructure. These rewards ensure the stability of the infrastructure and the availability of comprehensive data for model training and inference.
Essential links
- Termis : https://termius.com
- Galxe : https://app.galxe.com/quest/BaJLS2baL8ETJtyQePEDoE/GCTT6tT7sd
- Balance checker : https://nimble.urlrevealer.com (using this to check your balance, currently the balance not update real time. So u have to wait, if u lucky, your balance will update next day. If not, maybe some days wait to update your balance)
How to install a GPU miner ?
1. Create Nimble wallet
2.setting up a GPU miner
Create Nimble wallet
Traveling across Nimble Network requires a wallet, for earning or paying tokens.This guide will walk you through the process of setting up your Nimble Network wallet. The process requires installing necessary software and executing a series of commands. We only provide CLI today. But soon we will support browser extensions.
On Mac OS
Install Golang
- Download and install Golang (v1.22 or higher)
- Open a terminal window
- Execute the following commands
mkdir ~/go
export GOPATH=$HOME/go
export PATH=$PATH:/usr/local/go/bin:$GOPATH/bin
go version
It should display the go version, ex. goX.X.X darwin/amd64
Create Wallet
Note: Git is required for the remaining setup steps.
- Open a terminal
- Execute the following commands to download wallet CLI
mkdir $HOME/nimble && cd $HOME/nimble
git clone https://github.com/nimble-technology/wallet-public.git
cd wallet-public
make install
- Locate this executable command and confirm it exists
nimble-networkd
- Execute the following command to create your wallet. Give your wallet a name, such as ‘ilovenimble’.
nimble-networkd keys add ilovenimble
(Type your passphrase)
(Save the seed phrase somewhere safe)
The “address: nimblexxxx” output means your Nimble Network wallet address was created successfully!
On Windows
Install Golang
- Install Windows Subsystem for Linux (WSL)
- Nimble requires Go 1.22.1. If you already have a previous Go version installed, start by removing it
sudo apt-get remove golang-go
sudo rm -rf /usr/local/go
- Once completed, open a terminal and execute the following commands
cd /usr/local
sudo wget https://go.dev/dl/go1.22.1.linux-amd64.tar.gz
sudo tar -C /usr/local -xzf go1.22.1.linux-amd64.tar.gz
export PATH=$PATH:/usr/local/go/bin
go version
It should display the go version 1.22.1
Create Wallet
Note: Git is required for the remaining setup steps.
- Open a terminal
- Execute the following commands to download wallet CLI
mkdir $HOME/nimble && cd $HOME/nimble
git clone https://github.com/nimble-technology/wallet-public.git
cd wallet-public
make install
- Locate this executable command and confirm it exists
nimble-networkd
- Execute the following command to create your wallet. Give your wallet a name, such as ‘ilovenimble’.
nimble-networkd keys add ilovenimble
(Type your passphrase)
(Save the seed phrase somewhere safe)
The “address: nimblexxxx” output means your Nimble Network wallet address was created successfully!
On Linux
Install Golang
- Open a terminal
- Execute the following commands
sudo snap install go --classic
go version
It should display the go version.
Create Wallet
Note: Git is required for the remaining setup steps.
- Open a terminal
- Execute the following commands to download wallet CLI
mkdir $HOME/nimble && cd $HOME/nimble
git clone https://github.com/nimble-technology/wallet-public.git
cd wallet-public
make install
- Locate this executable command and confirm it exists [A]
nimble-networkd
Execute the following command to create your wallet. Give your wallet a name, such as ‘ilovenimble’.
nimble-networkd keys add ilovenimble
If you encounter a failure while creating wallet , please execute the following commands.
cd
cd go/bin
./nimble-networkd keys add your_wallet_name
(Type your passphrase)
(Save the seed phrase somewhere safe)
The “address: nimblexxxx” output means your Nimble Network wallet address was created successfully!
Setting up a GPU miner
System requirements
Before you begin mining NIM, it’s essential to configure your mining hardware according to these specifications. Proper setup ensures efficient mining and a seamless experience. We provide specific instructions for Linux, Windows 11, and Mac systems. Below are the recommended and minimum system requirements that will help you effectively participate in mining on the Nimble Network.
System Specs
Recommended System Specifications
- GPU: NVIDIA RTX 3090 or higher
- CPU: Intel Core i7-13700 or equivalent
- RAM: 16 GB or more
- Disk Space: 256 GB or more
Minimum System Specifications
- GPU: NVIDIA RTX 2080 or higher for Linux and Windows; Apple M1, M2, or M3 chip for Mac
- CPU: Intel Core i5-7400 or equivalent
- RAM: 16 GB
- Disk Space: 100 GB
On Mac
Open a terminal window
cd $HOME/nimble
git clone https://github.com/nimble-technology/nimble-miner-public.git
cd nimble-miner-public
make install
source ./nimenv_localminers/bin/activate
make run test addr=<copy paste your “nimblexxx” wallet address here>
On Windows
Note: python3.9 (or above) and pip3 are required for the remaining steps
- Open a terminal window
- Install python3 venv
sudo apt update
sudo apt install python3-venv
- If you encounter a failure while installing python3-venv, please execute the following commands.
sudo apt-get install software-properties-common
sudo add-apt-repository ppa:deadsnakes/ppa -y
sudo apt install python3-venv
- Download and run nimble miner
cd $HOME/nimble
git clone https://github.com/nimble-technology/nimble-miner-public.git
cd nimble-miner-public
make install
source ./nimenv_localminers/bin/activate
make run test addr=<copy paste your “nimblexxx” wallet address here>
On Linux
Note: python3.9 (or above) and pip3 are required for the remaining steps
Install python 3.9
sudo apt update
sudo apt install software-properties-common
sudo add-apt-repository ppa:deadsnakes/ppa
sudo apt update
sudo apt install python3.9
python3.9 --version
python 3.9 installed successfully.
Install pip3
1. Verify Python Installation
Before installing pip3, it’s essential to ensure that Python 3 is installed on your Linux system. Open a terminal and type the following command
python3.9 --version
This command should display the version of Python 3 installed on your system. If Python 3 is not installed, you can install it using your distribution’s package manager.
2. Update Package Manager
Ensure that your system’s package manager is up to date. Use the following commands based on your Linux distribution.
sudo apt update
sudo apt upgrade
3. Install pip3 in Linux
Once Python 3 is installed and the package manager is updated, you can install pip3. Use the following command:
sudo apt-get install python3-pip
4. Verify pip3 Installation in Linux
One can easily verify if the pip has been installed correctly by performing a version check on the same. Just go to the command-line and execute the following command
pip3 --version

- Open a terminal window
- Install python3 venv for Linux
sudo apt update
sudo apt install python3-venv
- If you encounter a failure while installing python3-venv, please execute the following commands.
sudo apt-get install software-properties-common
sudo add-apt-repository ppa:deadsnakes/ppa -y
sudo apt install python3-venv
- Open a terminal window
cd $HOME/nimble
git clone https://github.com/nimble-technology/nimble-miner-public.git
cd nimble-miner-public
make install
source ./nimenv_localminers/bin/activate
make run test addr=<copy paste your “nimblexxx” wallet address here>
Now it’s Done! However, before we close our window, we should save the screen to ensure our program can continue running in the background.
Now, it's time to exit this process. To continue,

Windows] press CTRL+C , at the same time
Mac OS ] Press Control key + C , at the same time
Now you are in this directory “user@ …..:~/nimble/nimble-miner-public$”
1] Now open a new screen
screen -S nimble
2] change directory to “nimble-miner-public”
cd $HOME/nimble/nimble-miner-public
3] Now submit your wallet and run again , Make sure to use your Sub wallet
make run test addr=<copy paste your “nimblexxx” wallet address here>
4 ] Now it’s should be worked as before ,follow below commands to detached screen
Windows] ctrl + A + D (Press these keys at same time to To Detached screens)
Mac OS] Control + A + D Press these keys at same time to To Detached screens)
5] And now check detached screens
screen -ls
Result like this - Ex » 45763.nimble

To re open a detached screen use this command
According to above example I should use 1909.nimble but you should use your own one.
screen -r 1909.nimble
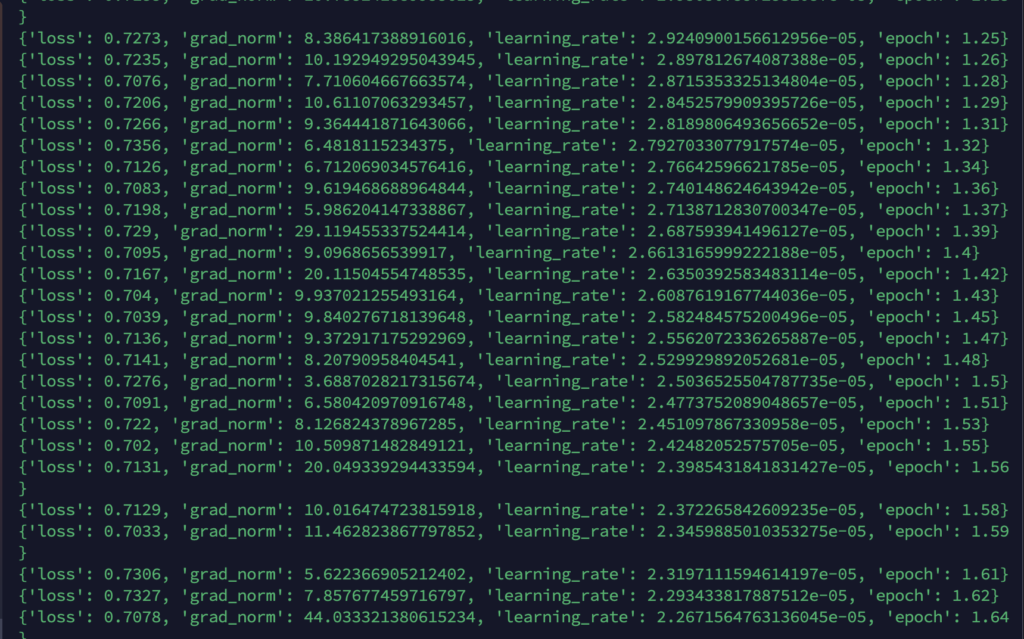
If you want to check your mining work properly, log into your virtual machine and paste the ‘screen -r’ command.

Wait few seconds …
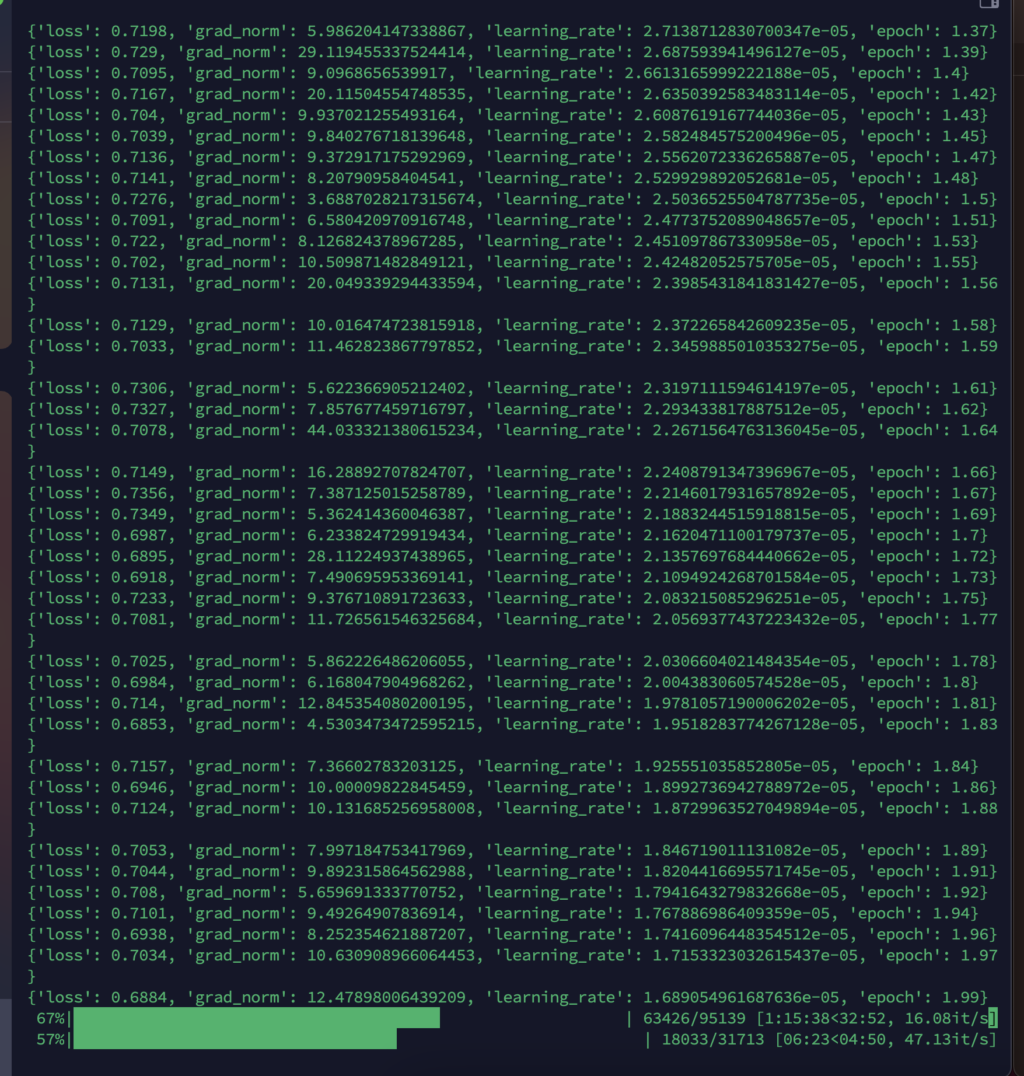
Now it’s done ! Thank you !
- How to Install Python 3.9 on Linux Mint 20.2 | Install Python for Linux Mint | Linux Tutorials 2021 : ~ TechSolutionZ [https://youtu.be/dN2o_xKXw8M?si=pxGWZInG2Nkcycew]
- How to install PIP3 in Linux? : ~geeksforgeeks [https://www.geeksforgeeks.org/how-to-install-pip-in-linux/]
- Nimble Official documentation : https://docs.nimble.technology


